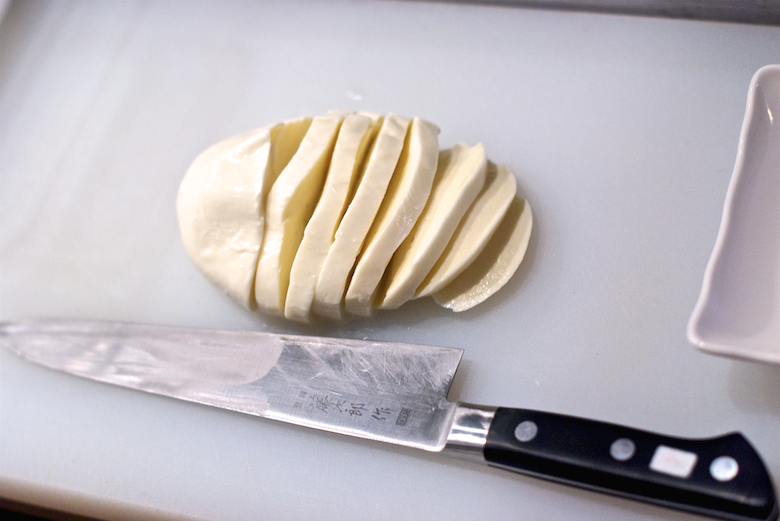
For mozzarella aficionados, nothing less than homemade will do. While specialty shops and high-end grocers make good mozzarella on a daily basis, that convenience doesn’t come cheap. And if you’re not going to a specialty shop, most of the time, store-bought mozzarella is disappointing: It resembles tough, chewy balls of plastic rather than fresh cheese.
But making your own mozzarella at home is much easier — and enjoyable — than you might think. All that’s needed need is some good cheese curds and a few pieces of equipment most cooks probably already have in the kitchen.
Making mozzarella is one of Kevin Chun’s specialties. Chun has a diverse array of experience in the kitchen, having worked alongside Nobu Matsuhisa, Charlie Trotter and Ron Siegel. Here in New York, he served as executive chef at Macao Trading Company, and then was at the helm at Yunnan Kitchen shortly before joining Louie & Chan earlier this summer. His step-by-step demo will help ensure success.
Here’s what you need to get started.

- Medium pot: You’ll need one that holds at least 2 quarts comfortably.

- Cheese curds: Look for high-quality cheese curds at places like DiPalo’s, Buon Italia or Chelsea Market. Chun prefers a brand called Grande, which he says makes the “best mozzarella for pizzas because it melts really well and doesn’t burn in the oven.” You’ll need about 12 ounces.
- Colander: For draining the curds.
- Latex gloves: These will help protect your hands while shaping the mozzarella in the water, which is a little on the warm side at 165°F.
- Thermometer: Any kitchen thermometer will do.
- Milk: 1 cup for the “milk water” which will be used to hold the mozzarella once it’s shaped.
- Kosher salt: 1 cup for the boiling water plus 1 tablespoon for the milk water.
- Ice: To cool down the mozzarella after it forms.
- Nonreactive metal bowls: You’ll need one large one to shape the curds into mozzarella in warm water, a medium one to hold the milk water, and a small one to hold the ice. Make sure they are nonreactive (no copper or aluminum bowls).
- Water: 3 quarts total
The action:
1. Begin by placing the curds them in the large nonreactive bowl, and leaving them out at room temperature for 1 to 2 hours.
2. When you’re ready to get started, in the medium pot, bring 2 quarts water plus 1 cup kosher salt to 165°F as measured by a kitchen thermometer. Reduce the heat if necessary to maintain a steady temperature.
3. Fill the small bowl with ice, and fill the medium bowl with 1 quart water, 1 cup milk, and 1 tablespoon kosher salt.

4. Put on the latex gloves, and pour enough of the warm water into the large bowl to cover the curds.

5. Gently bring the curds together until the fat starts to melt.

6. Drain the curds in a colander placed in the sink, and return them to the bowl. Cover with warm water again.


7. Bring the curds together, press down to flatten slightly, then stretch it.


8. Fold in half, and form into a ball.
9. Repeat this just until the ball is shiny and smooth on the outside. If the ball feels grainy or spotty in your hand, it’s not done yet. Don’t worry if holes form as part of the process; the key is not to overwork the ball or it will get tough. In a way, it’s a bit like working with dough.

10. As it gets a bit tougher to knead, add more warm water to soften it again.

11. When you’re done, transfer the mozzarella ball to the milk water, add some ice to cool it down, and let sit for at least 15 minutes before using (or overnight). That’s it!
Photo credit: Ben Jay


